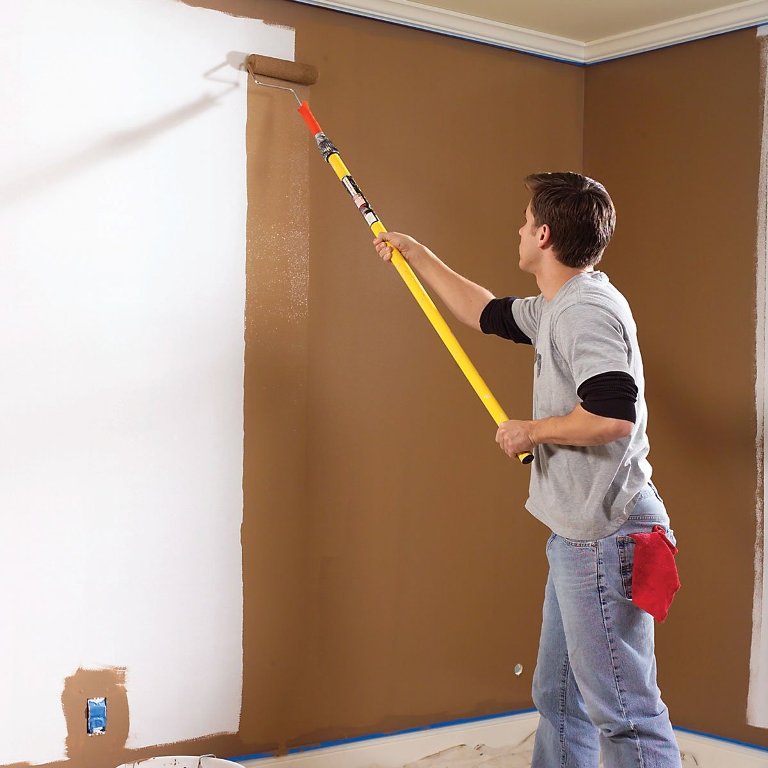
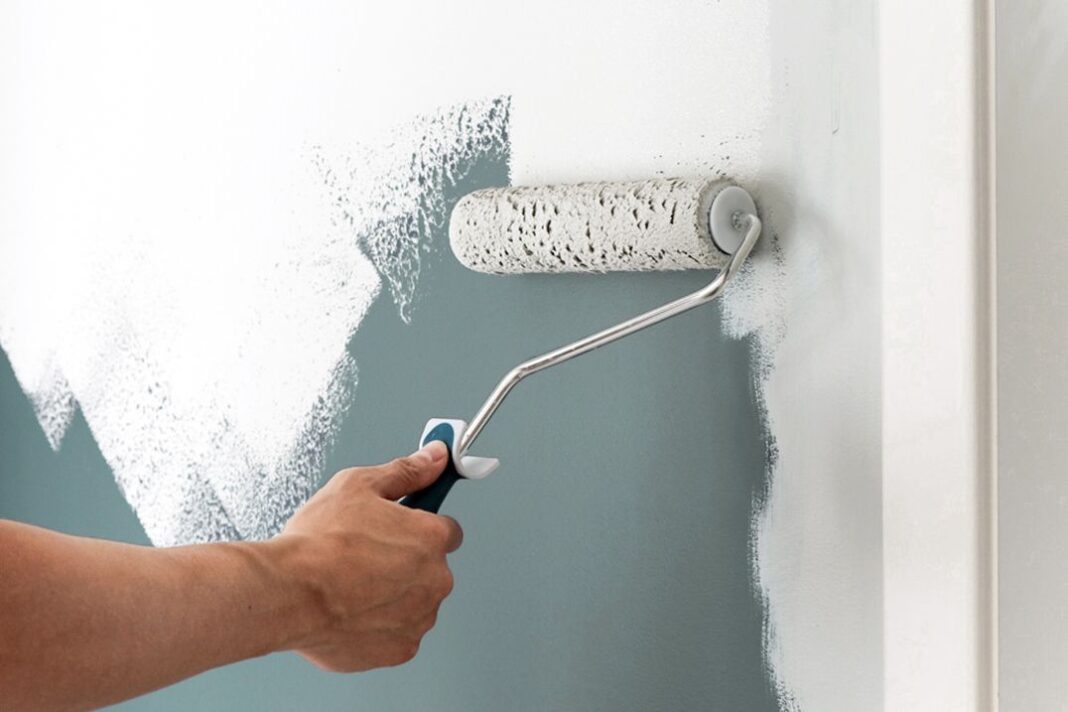
While it’s certainly true that each painter has a slightly different methodology (when it comes to interior painting), they all share some of the same secrets that can only be learned from years of on-the-job experience. Most people know the basics of painting, but only a few know the proper techniques (and insider tips) to go from basic to excellent.
One of the biggest problems many DIYers face is achieving a crisp, clean, professional-looking interior paint job (which is exactly why we wrote this blog). Below we cover some of the very best tips for achieving the best interior paint job possible.
Make Sure to Sand
Ask any professional painter what they spend a lot of their time doing, and they’ll undoubtedly mention sanding. In order to end up with as perfect a job as possible, you need to start with as perfect a surface as possible. What does this mean? Sanding, and a lot of it.

In fact, most painters will tell you that the majority of their time on jobsites is spent sanding, rather than painting. Without sanding, it would be nearly impossible to flatten those tricky compound joints, or soften up those harsh edges around nails. These are all incredibly important details that shouldn’t be neglected, especially if you’re looking to be as professional as possible.
Don’t Use Cheap Equipment
Another thing that differentiates most professionals from DIYers/amateurs, is that they are obsessive about using only the highest quality supplies/equipment. Cheap brushes and other types of supplies are really only cheap in the beginning. Sure, you might save a few dollars on supplies, but just wait until you need to redo the entire job. Trying to save a few bucks in the beginning might end up costing you thousands at the end.
Use High Quality Paint
The same goes for paint. Don’t buy paint according to price. Paint should only be purchased according to quality. This is particularly important if you want to achieve a professional-looking paint job. Fitzpatrick Painting, one of New York’s preeminent painting companies, recommends using a high quality paint because it will go on easier, and will also provide the best coverage for the job.
Tinted Primers Are Your Friend
As we’ve already mentioned, a lot of a painter’s time is spent sanding. But, they also spend an equally large amount of time filling holes in walls and patching cracks (among many other things). This brings us to our next point, which is that you need to be using tinted primers.
Why use tinted primers? Simply put, painting directly over patches and filled holes essentially depletes all of the moisture from the paint. What this means is that all of these spots where the moisture has been pulled out of, will look drastically different from normal areas of the wall.
Most (normal) people (i.e. people who don’t really care about having a professional-looking paint job), opt to go for the simple choice of using a plain white primer.
The professionals though will typically use a grey, or tinted color primer that’s as close as possible to the actual color of the paint. Tinted colors do a much better job of preparing the surface for the final coat of paint.
Take Extra Care When Pressing Tape
Properly pressing tape is one of the final steps in getting ready to apply paint. Ask any painter what one of the worst things that could happen on the job is, and they would probably respond with something regarding tape leakage.

When tape isn’t properly applied, paint will often leak through it (essentially ruining the paint job). What’s the best (and professional) way of avoiding this major problem? The answer might surprise you.
Using a putty knife to secure tape against the surface you plan on painting is a commonly used technique on nearly all painting job sites. Doing this makes sure that the tape has a good, firm seal against the surface (and will pretty much eliminate any type of leakage).
It’s also important to use the right kind of tape, too. Don’t use standard masking tape. There’s a reason why professionals use blue painter’s tape. This type of tape is specifically designed for painting, and it doesn’t leave any sort of residue behind (which is often the case with normal masking tape). On most job sites, it’s normal for blue painter’s tape to be left on for extended periods of time (and when it’s taken off, there’s zero problems).


